This tutorial is from tutorialwiz.com
In this tutorial, we will create an effect that looks like a stamp created using those rubber ink stamps.
 |
Start a new document, large Now, select RED as your foreground color,
Then use the type tool and type in your text. Use a bold |
|
|
|
 |
Now go to Layer » Rasterize » Type Now use the rectangular marquee tool and make a selection AROUND the text…. |
|
|
|
 |
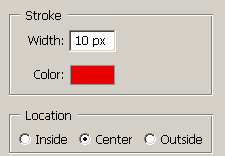
Now go to Edit » Stroke
Then you can deselect the selection by pressing CTRL+D |
|
|
|
 |
Now apply this filter: Note: These settings can vary.. depending on how washed out |
|
|
|
 |
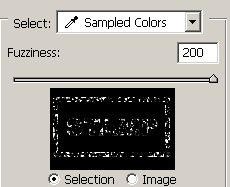
Go to Select » Color range,
|
|
|
|
 |
What we’ve just done is select ALL the So with the selection selected, hit DELETE .. you can hit |
|
|
|
  |
|


